3CX allows for fairly simple configuration of SIP trunks within its web interface. CloudCo Partner is one of the supported SIP Trunk providers and thus 3CX has a base template that you will be able to utilize in setup. Prior to setting up your SIP Trunk it will have been assumed that you have set your 3CX server up at a static IP address, as both 3CX and Bandwidth require this to utilize their services.
First, navigate to the Voice and Chat section on your sidebar and look for the add trunk button located within. This is highlighted below.

When you select this you will be presented with the following screen.
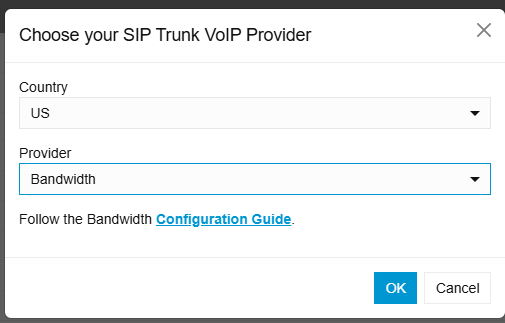
Here you will want to select your provider for the country you will want to select US from the drop down menu and finally for the provider you will want to select Bandwidth.com. Click OK.
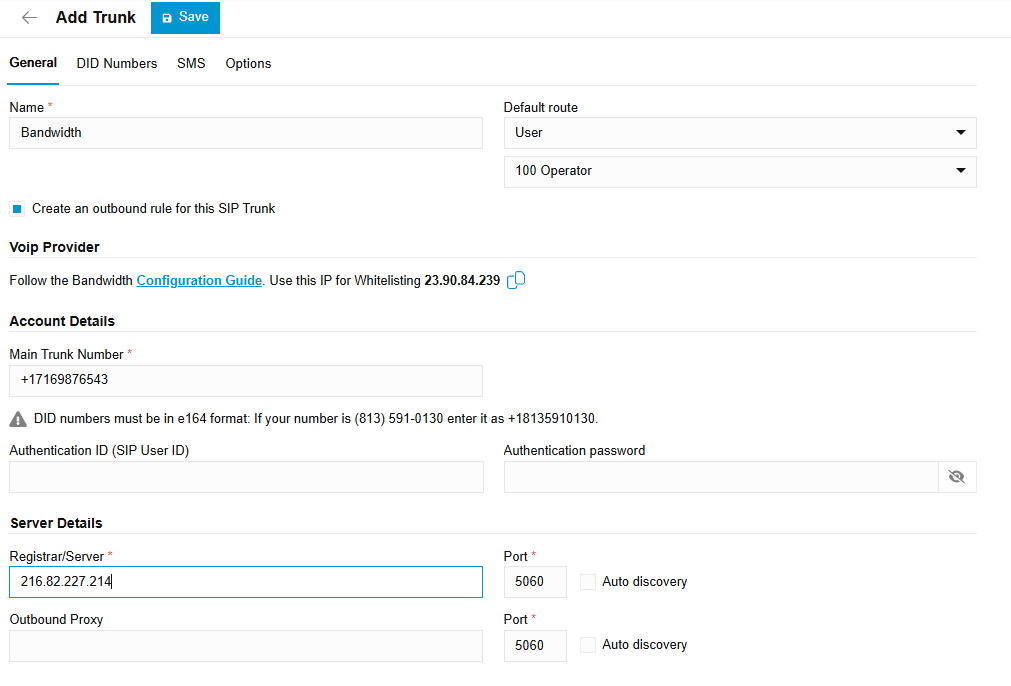
This will take you to the main setup page. as shown below. Give the Trunk a name (we recommend Bandwidth) and set your default route for inbound calls.
Under Account details where it states Main Trunk Number, enter the main DID for your trunk. DID's must be entered in E.164 format which starts with a +1.
Below this under Server Details you will need to fill out the Registrar IP address where it says to check 3CX Bandwidth documentation. This will be set to 216.82.227.214.
Go ahead and navigate to the DID Numbers tab.
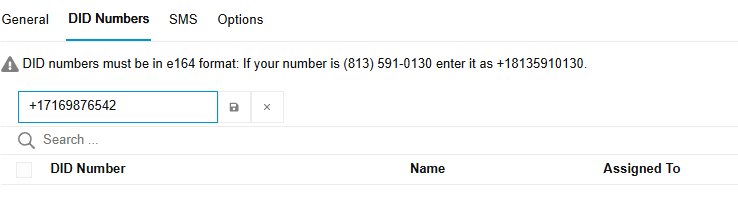
Here, you will want to enter any additional DID's that you have associated with your account. Please note that 3CX generally likes DID's in the form of +1xxxxxxx. E.164 formatting is required for SMS and our recommendation for DID entry.
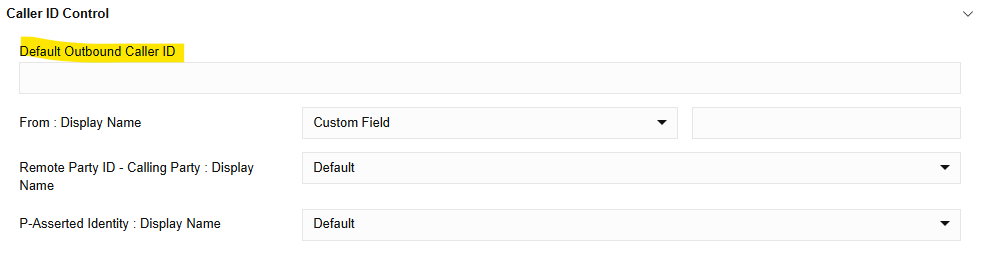
Go ahead and proceed to the Options tab. click the carat next to Caller ID Control:
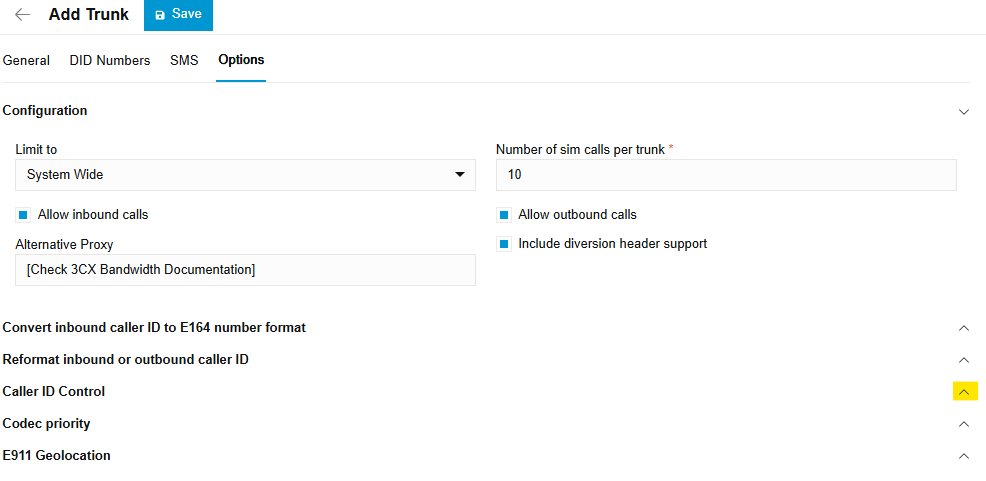
Here you will be able to define the default caller id for your SIP trunk. By default this will only be used when a caller id has not been specified on the extension level. Please note that this has to be a number. If you enter a name in this filed your caller ID will appear as Unavailable/Unknown when you make an outbound call.
Also on this page is an Alternative Proxy field. This should be set to 216.82.224.117. This is an alternative IP address that call traffic can route to. 3CX will automatically failover to this if a call fails to the 216.82.227.214 address that was set as the primary.
Once that is complete, you have done the basic steps to add your CloudCo Partner SIP Trunk to 3CX. 3CX will automatically help you configure outbound rules for your new trunk. However, there are some more steps that will need to be taken to have full functionality of your system. In it's current state, all calls will only be routing to your default destination. On the side bar you will need to go to Call Handing to set up what used to be called Inbound Routes.
Once those are complete, your system should be setup to allow inbound and outbound calls via your CloudCo Partner trunk. Any additional settings will be down to personal preference and will need to be fine tuned in order to get your system functioning fully as you desire.
Steve Stoveld
Comments